Authing DocsDocuments
Concept
workflow
Guides
Development Integration
Application integration
Concept
workflow
Guides
Development Integration
Application integration
Old Version
workflow
  • An overview of identity automation
  • Quick start

  • Write Workflow

  • Execute Workflow

  • Operate internal resources of Authoring
  • Using application connectors

  • Process control nodes

  • Data processing nodes

    • Custom Code
    • Data conversion
    • Data filtering
    • Incoming JSON data
    • XML
    • Split array
    • Data synthesis
    • Data reception
    • Data encryption
    • Read RSS
    • Array merging
    • Dataset comparison
    • Tree structure transformation
    • Analyzing Recurrent Data
    • HTML extraction
    • Markdown
    • Boolean

    • Text

    • Url

    • Number

    • Date

    • Object

    • List

  • Workflow customization capability

  • Using templates

  1. workflow
  2. /
  3. Data processing nodes

  4. /
  5. Data synthesis

¶ Data synthesis

¶ Node Introduction

The "data synthesis" node is mainly used to assemble multiple variable data, in order to combine these variables into one output result for subsequent node processing.

The nodes mainly include the following configurations:

  • Data synthesis, which can dynamically assemble multiple variable data and ultimately synthesize them into one data object for output.

¶ Quick Start

¶ Add node

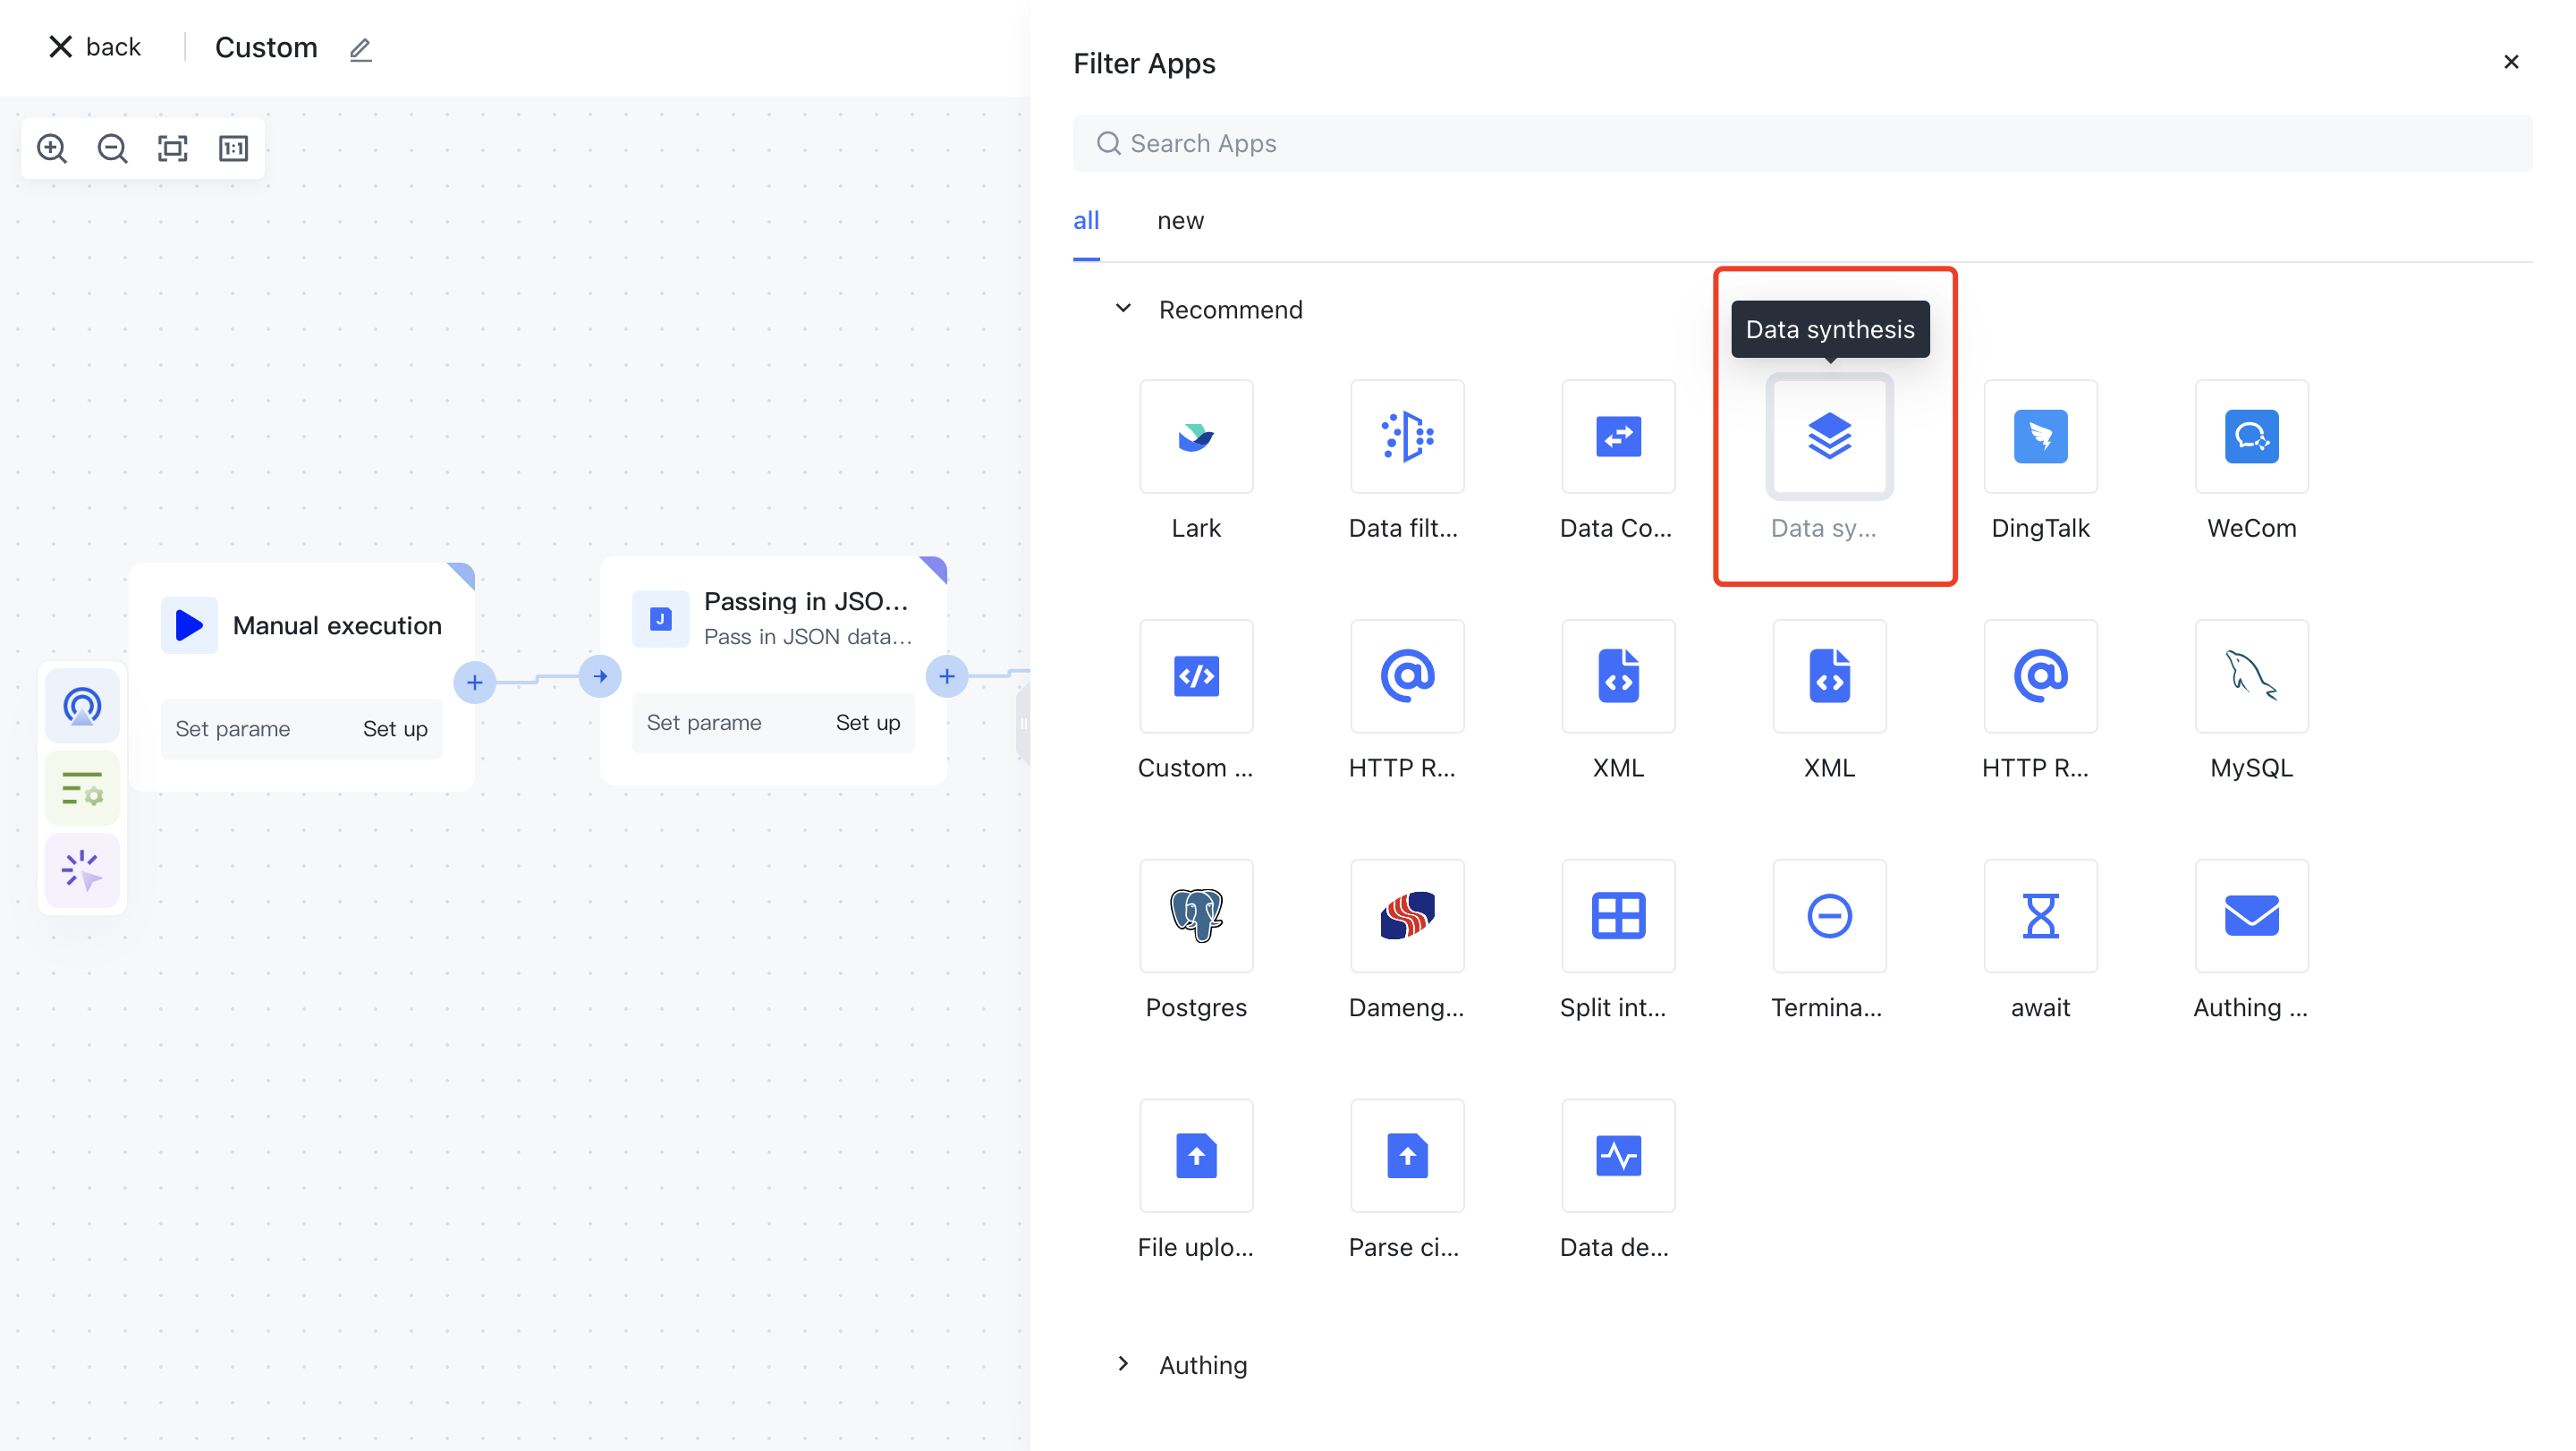
On the Add Node page, find the "Data Synthesis" application node in the "Data Processing" category.

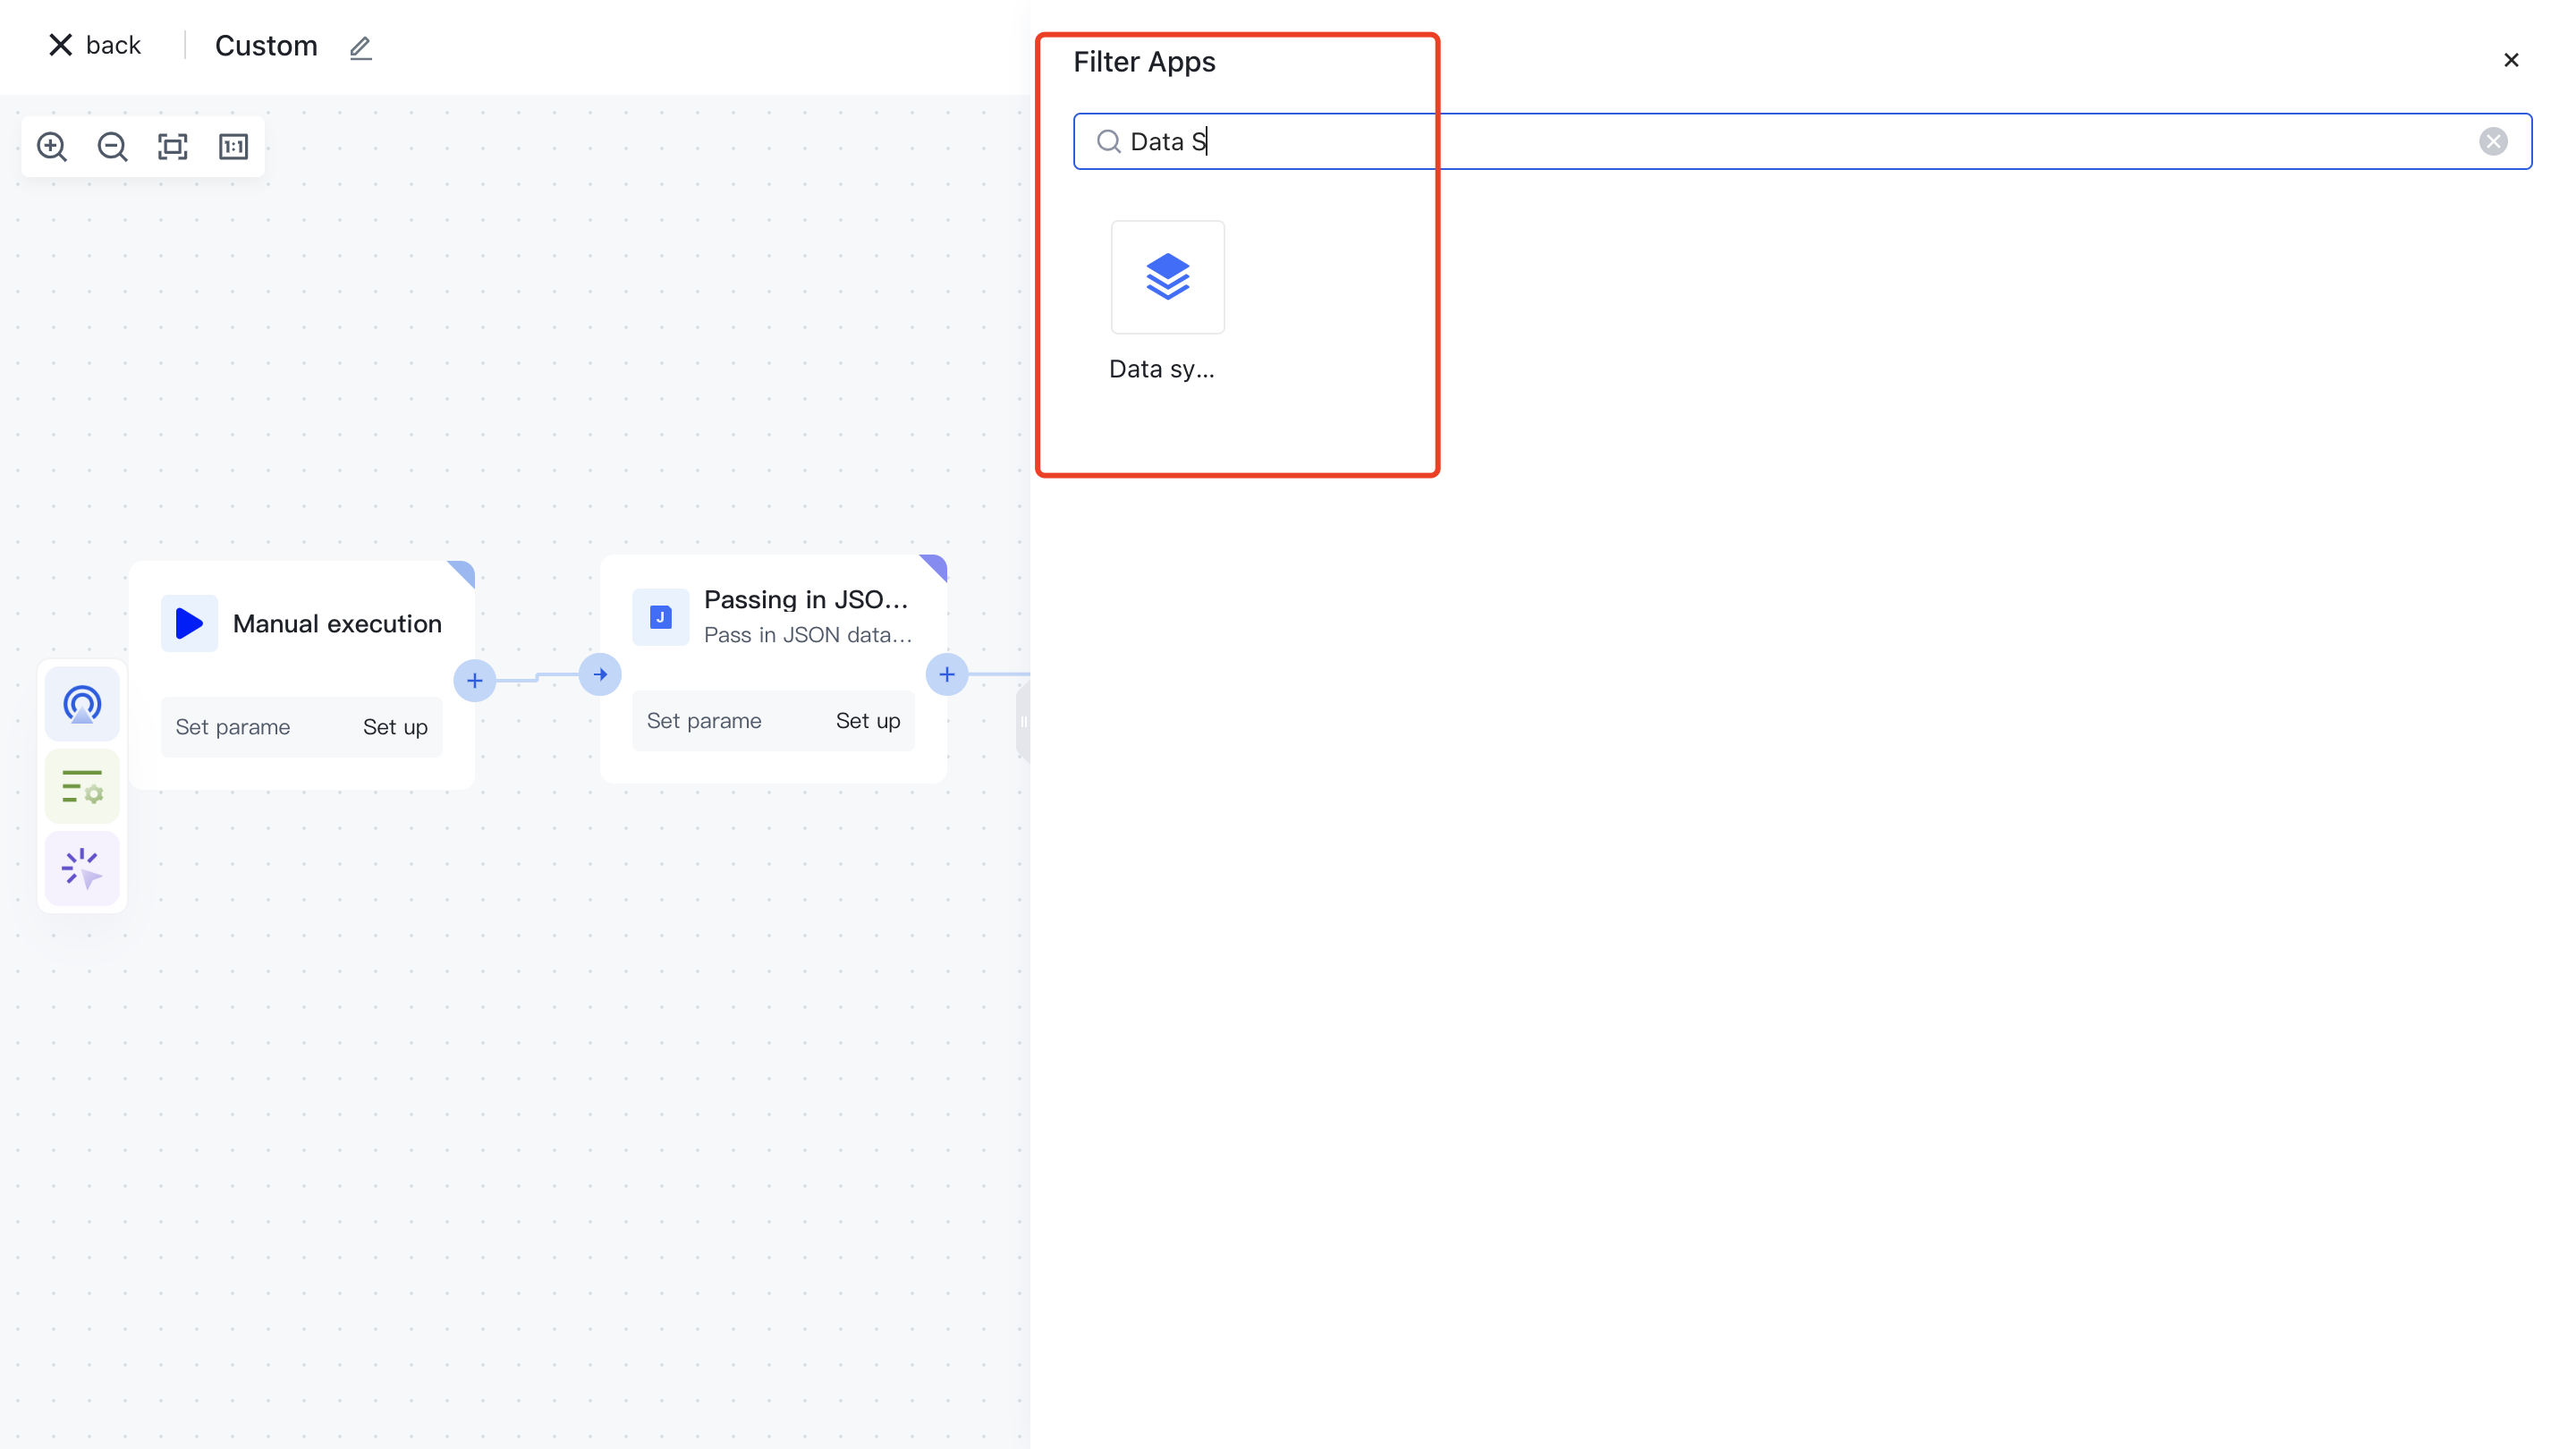
Or apply filtering by entering the keyword "data synthesis".

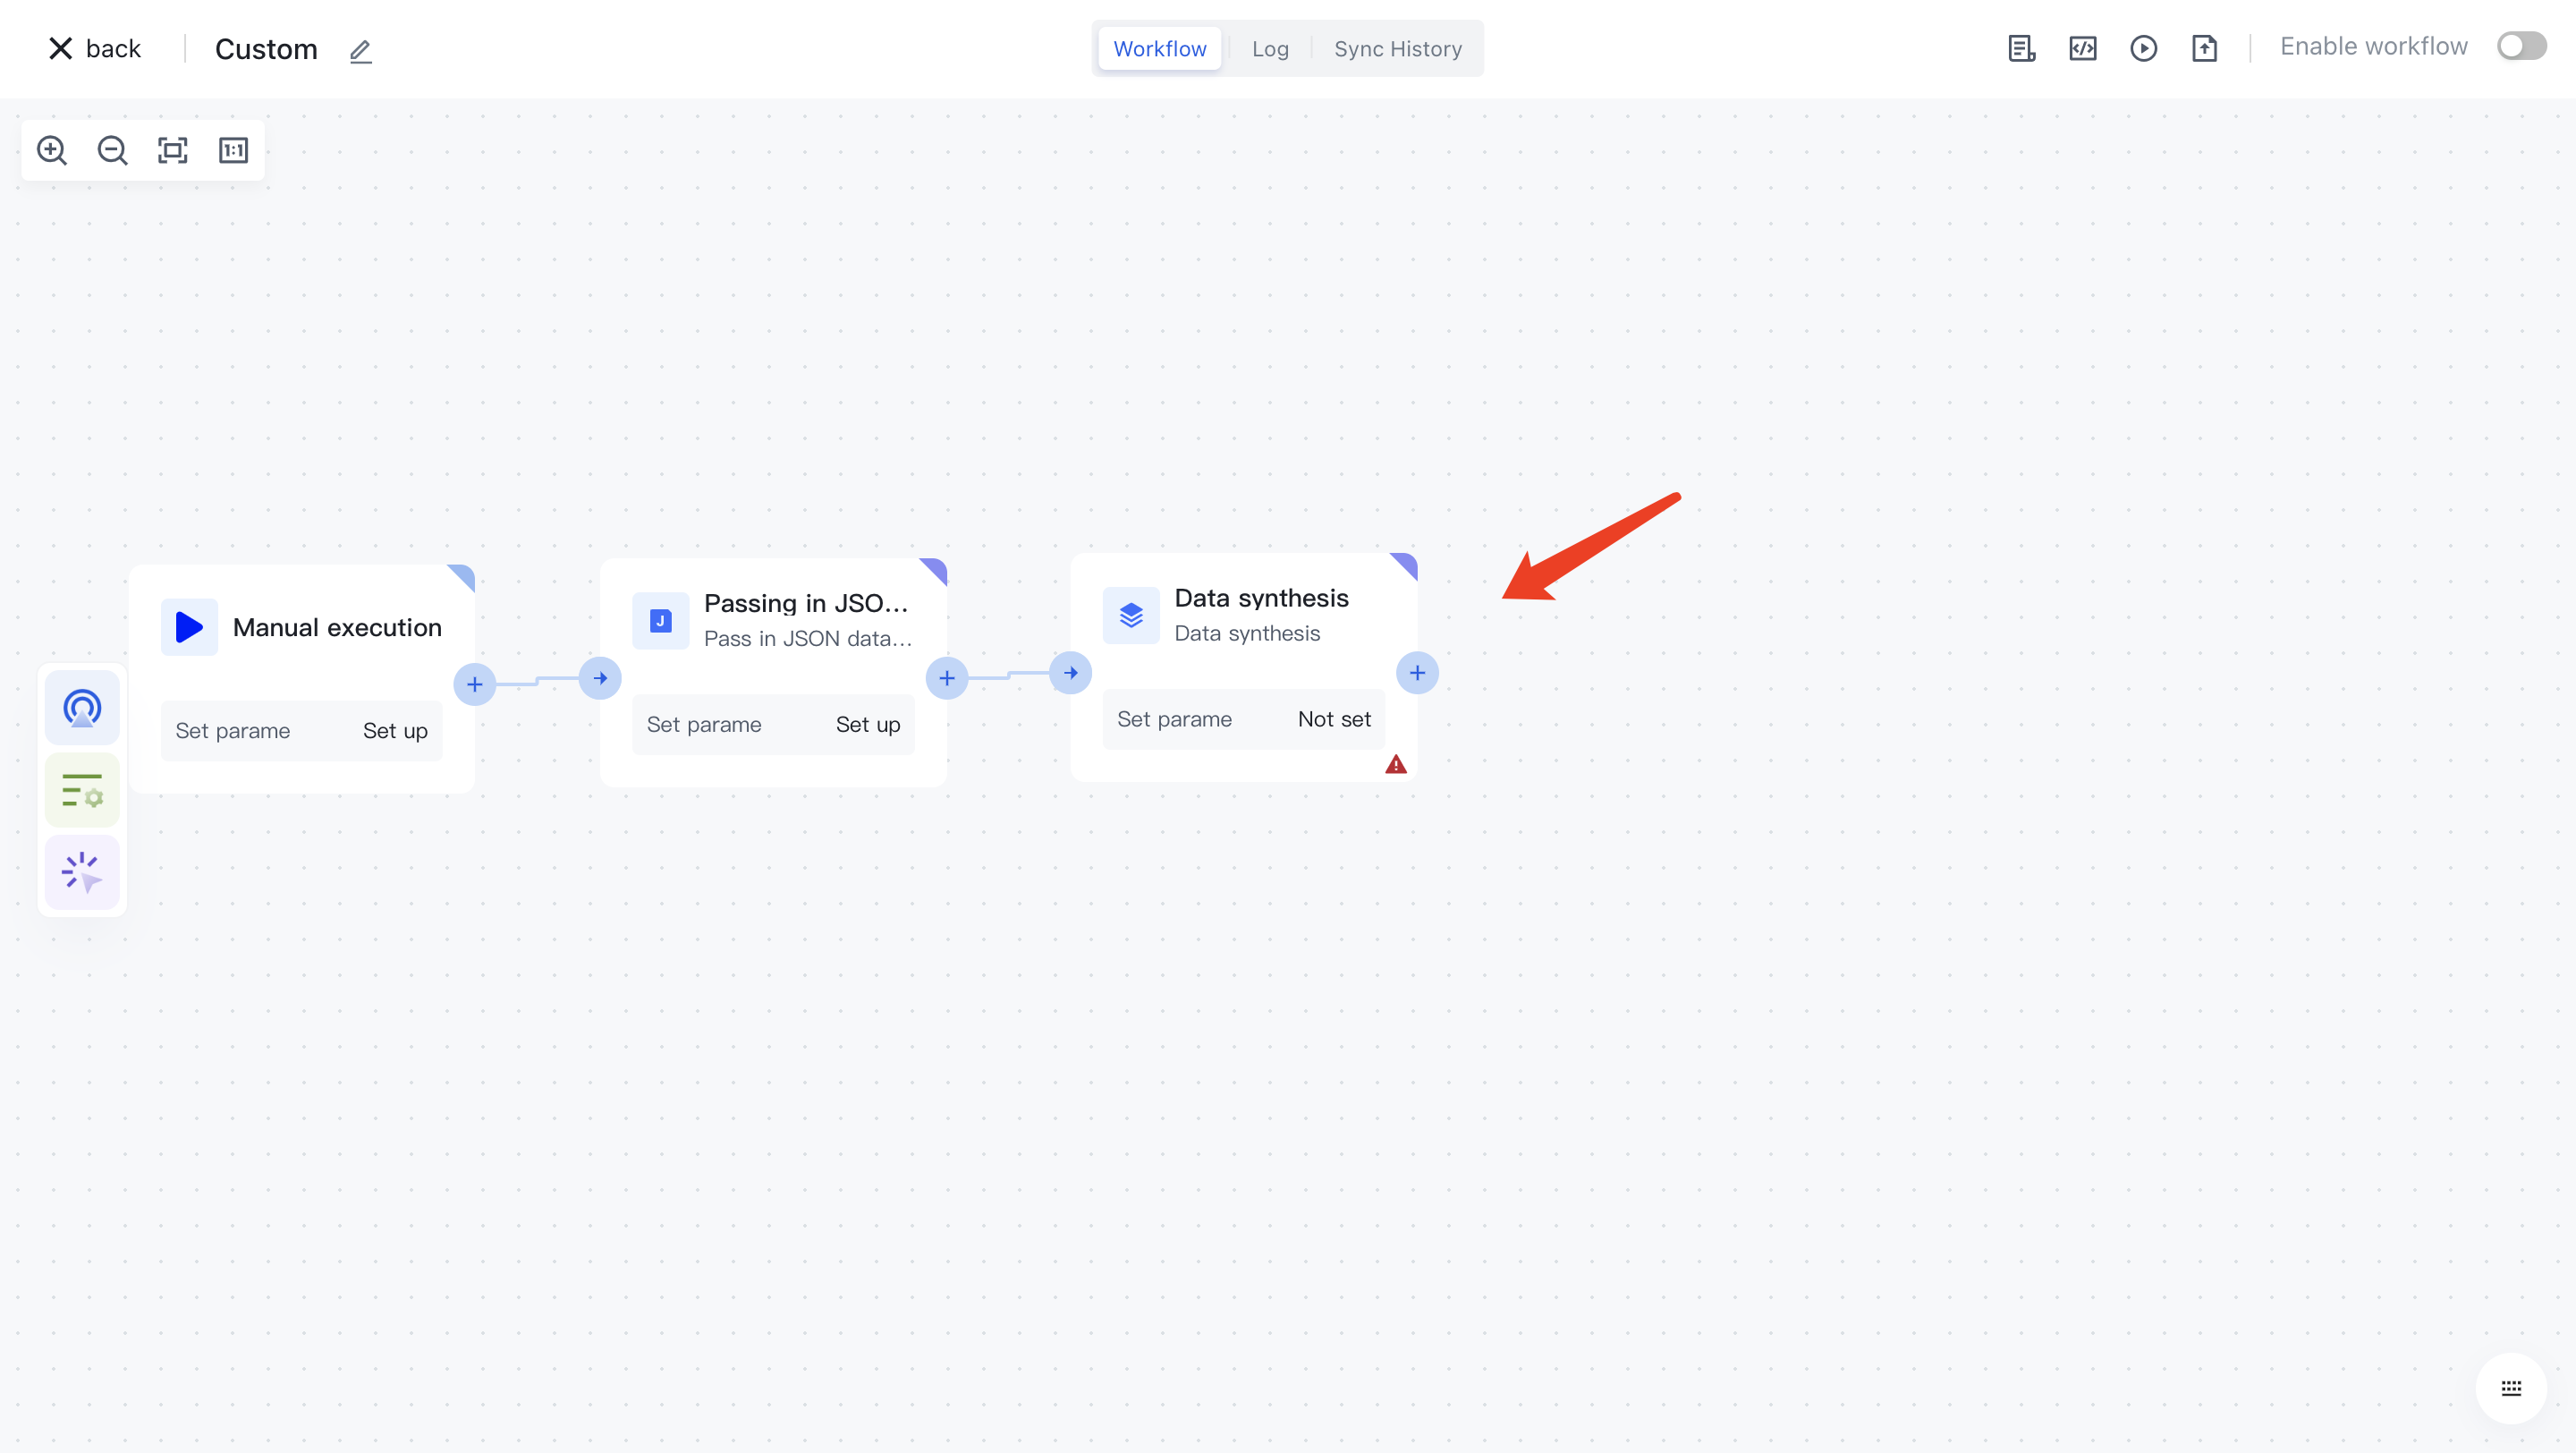
Clicking on a node will automatically add it to the workflow.

¶ Node configuration

Click on the node in the workflow canvas or click the "Edit" button below to enter the node's configuration page.

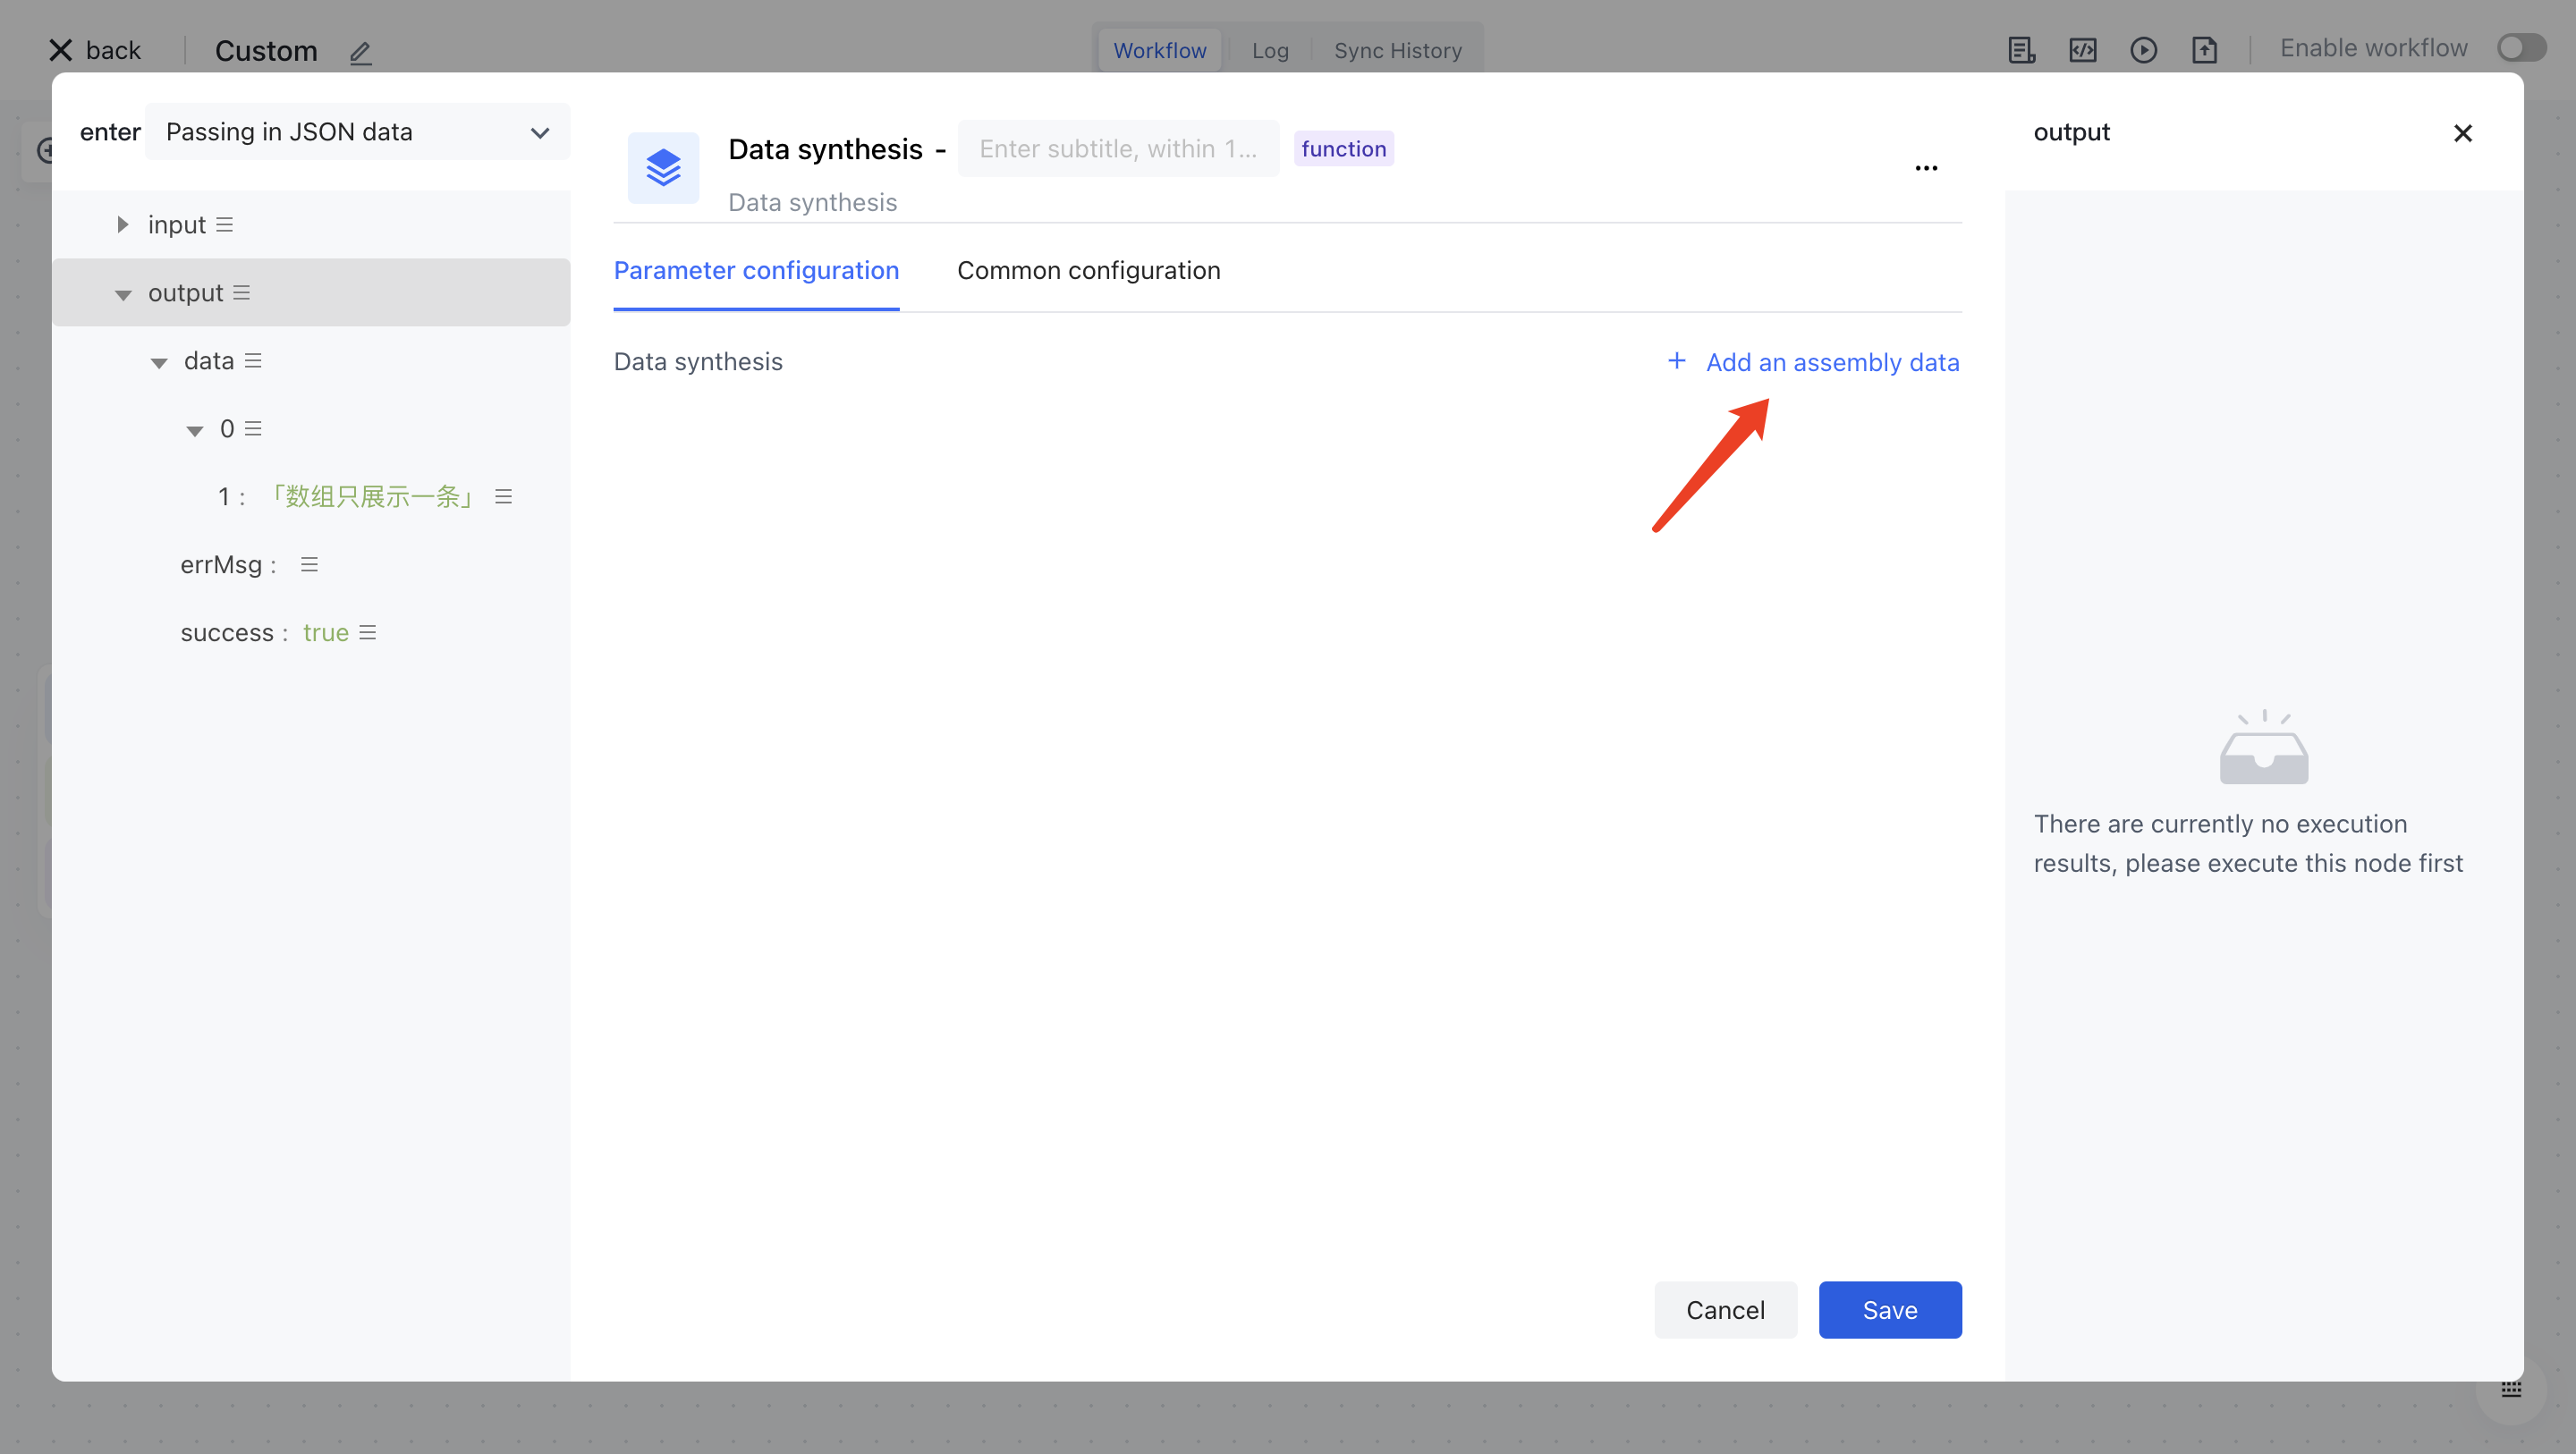
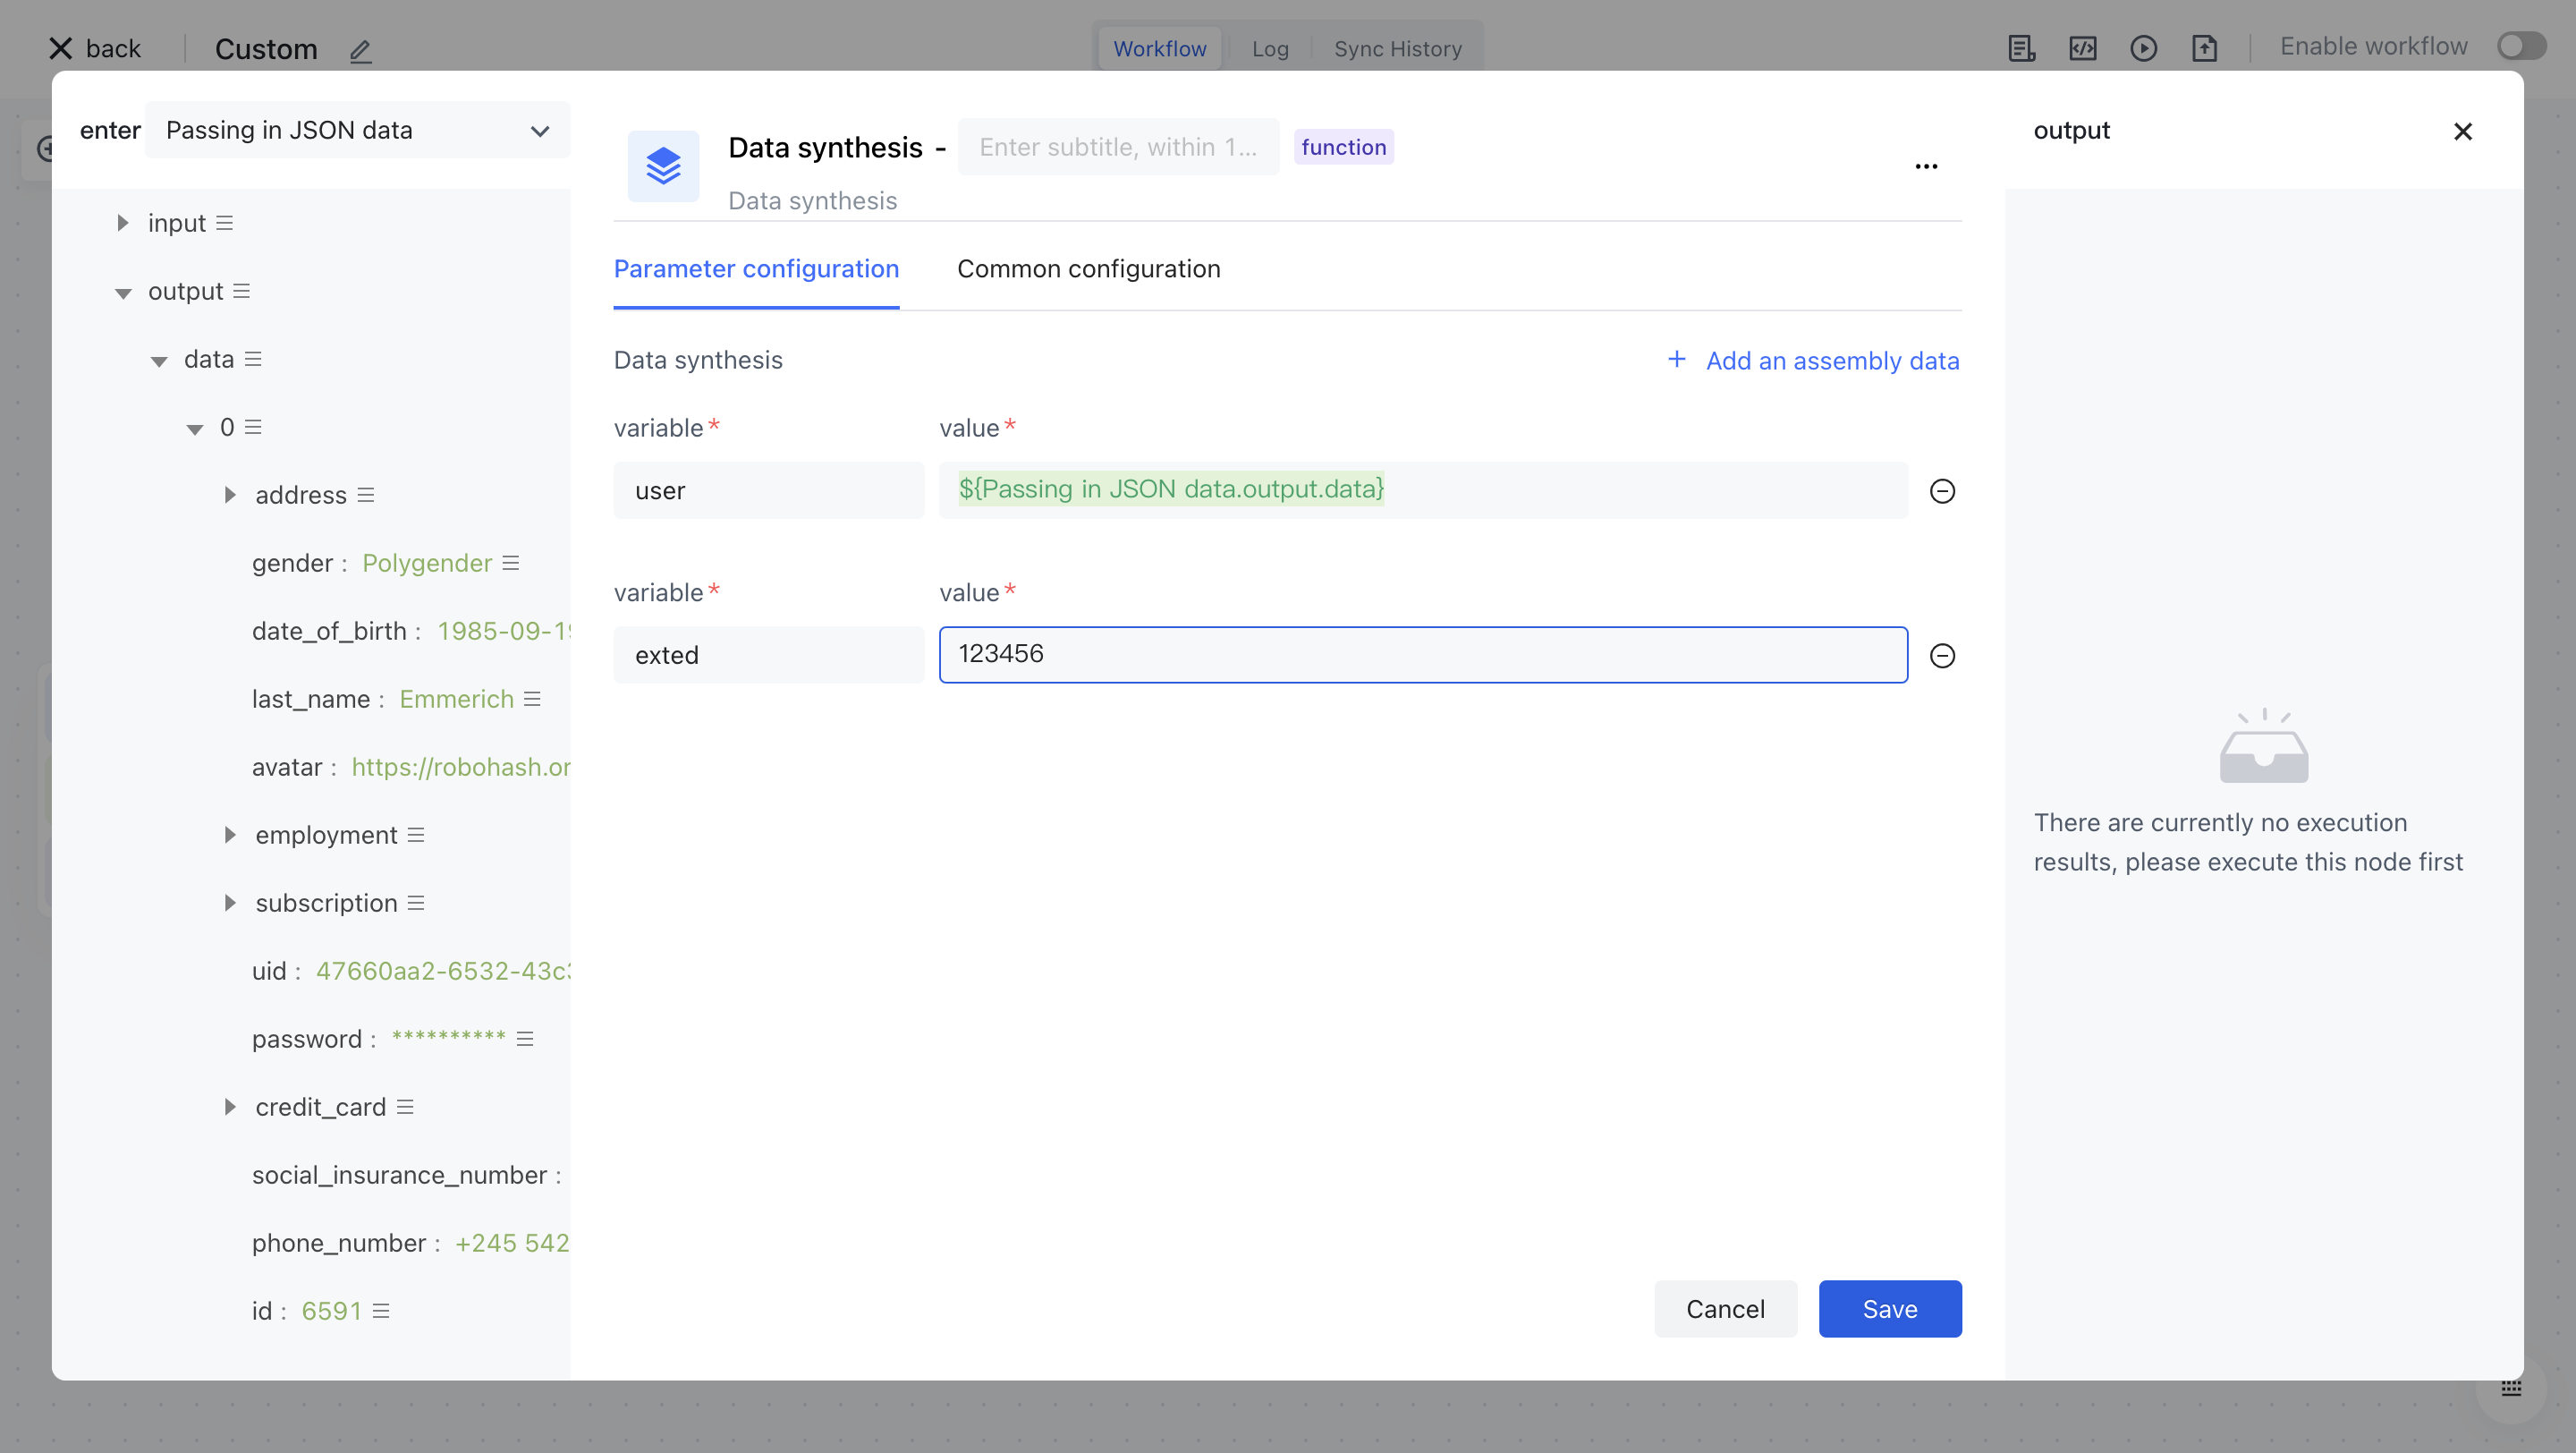
Configure the various configuration items of the node as follows:

  • Assemble the variable "user" and select the "data" attribute under "output" in the "Incoming JSON Data" section on the left for assembly;
  • Assemble the variable "extend", enter the value 123456, and click the "Save" button.
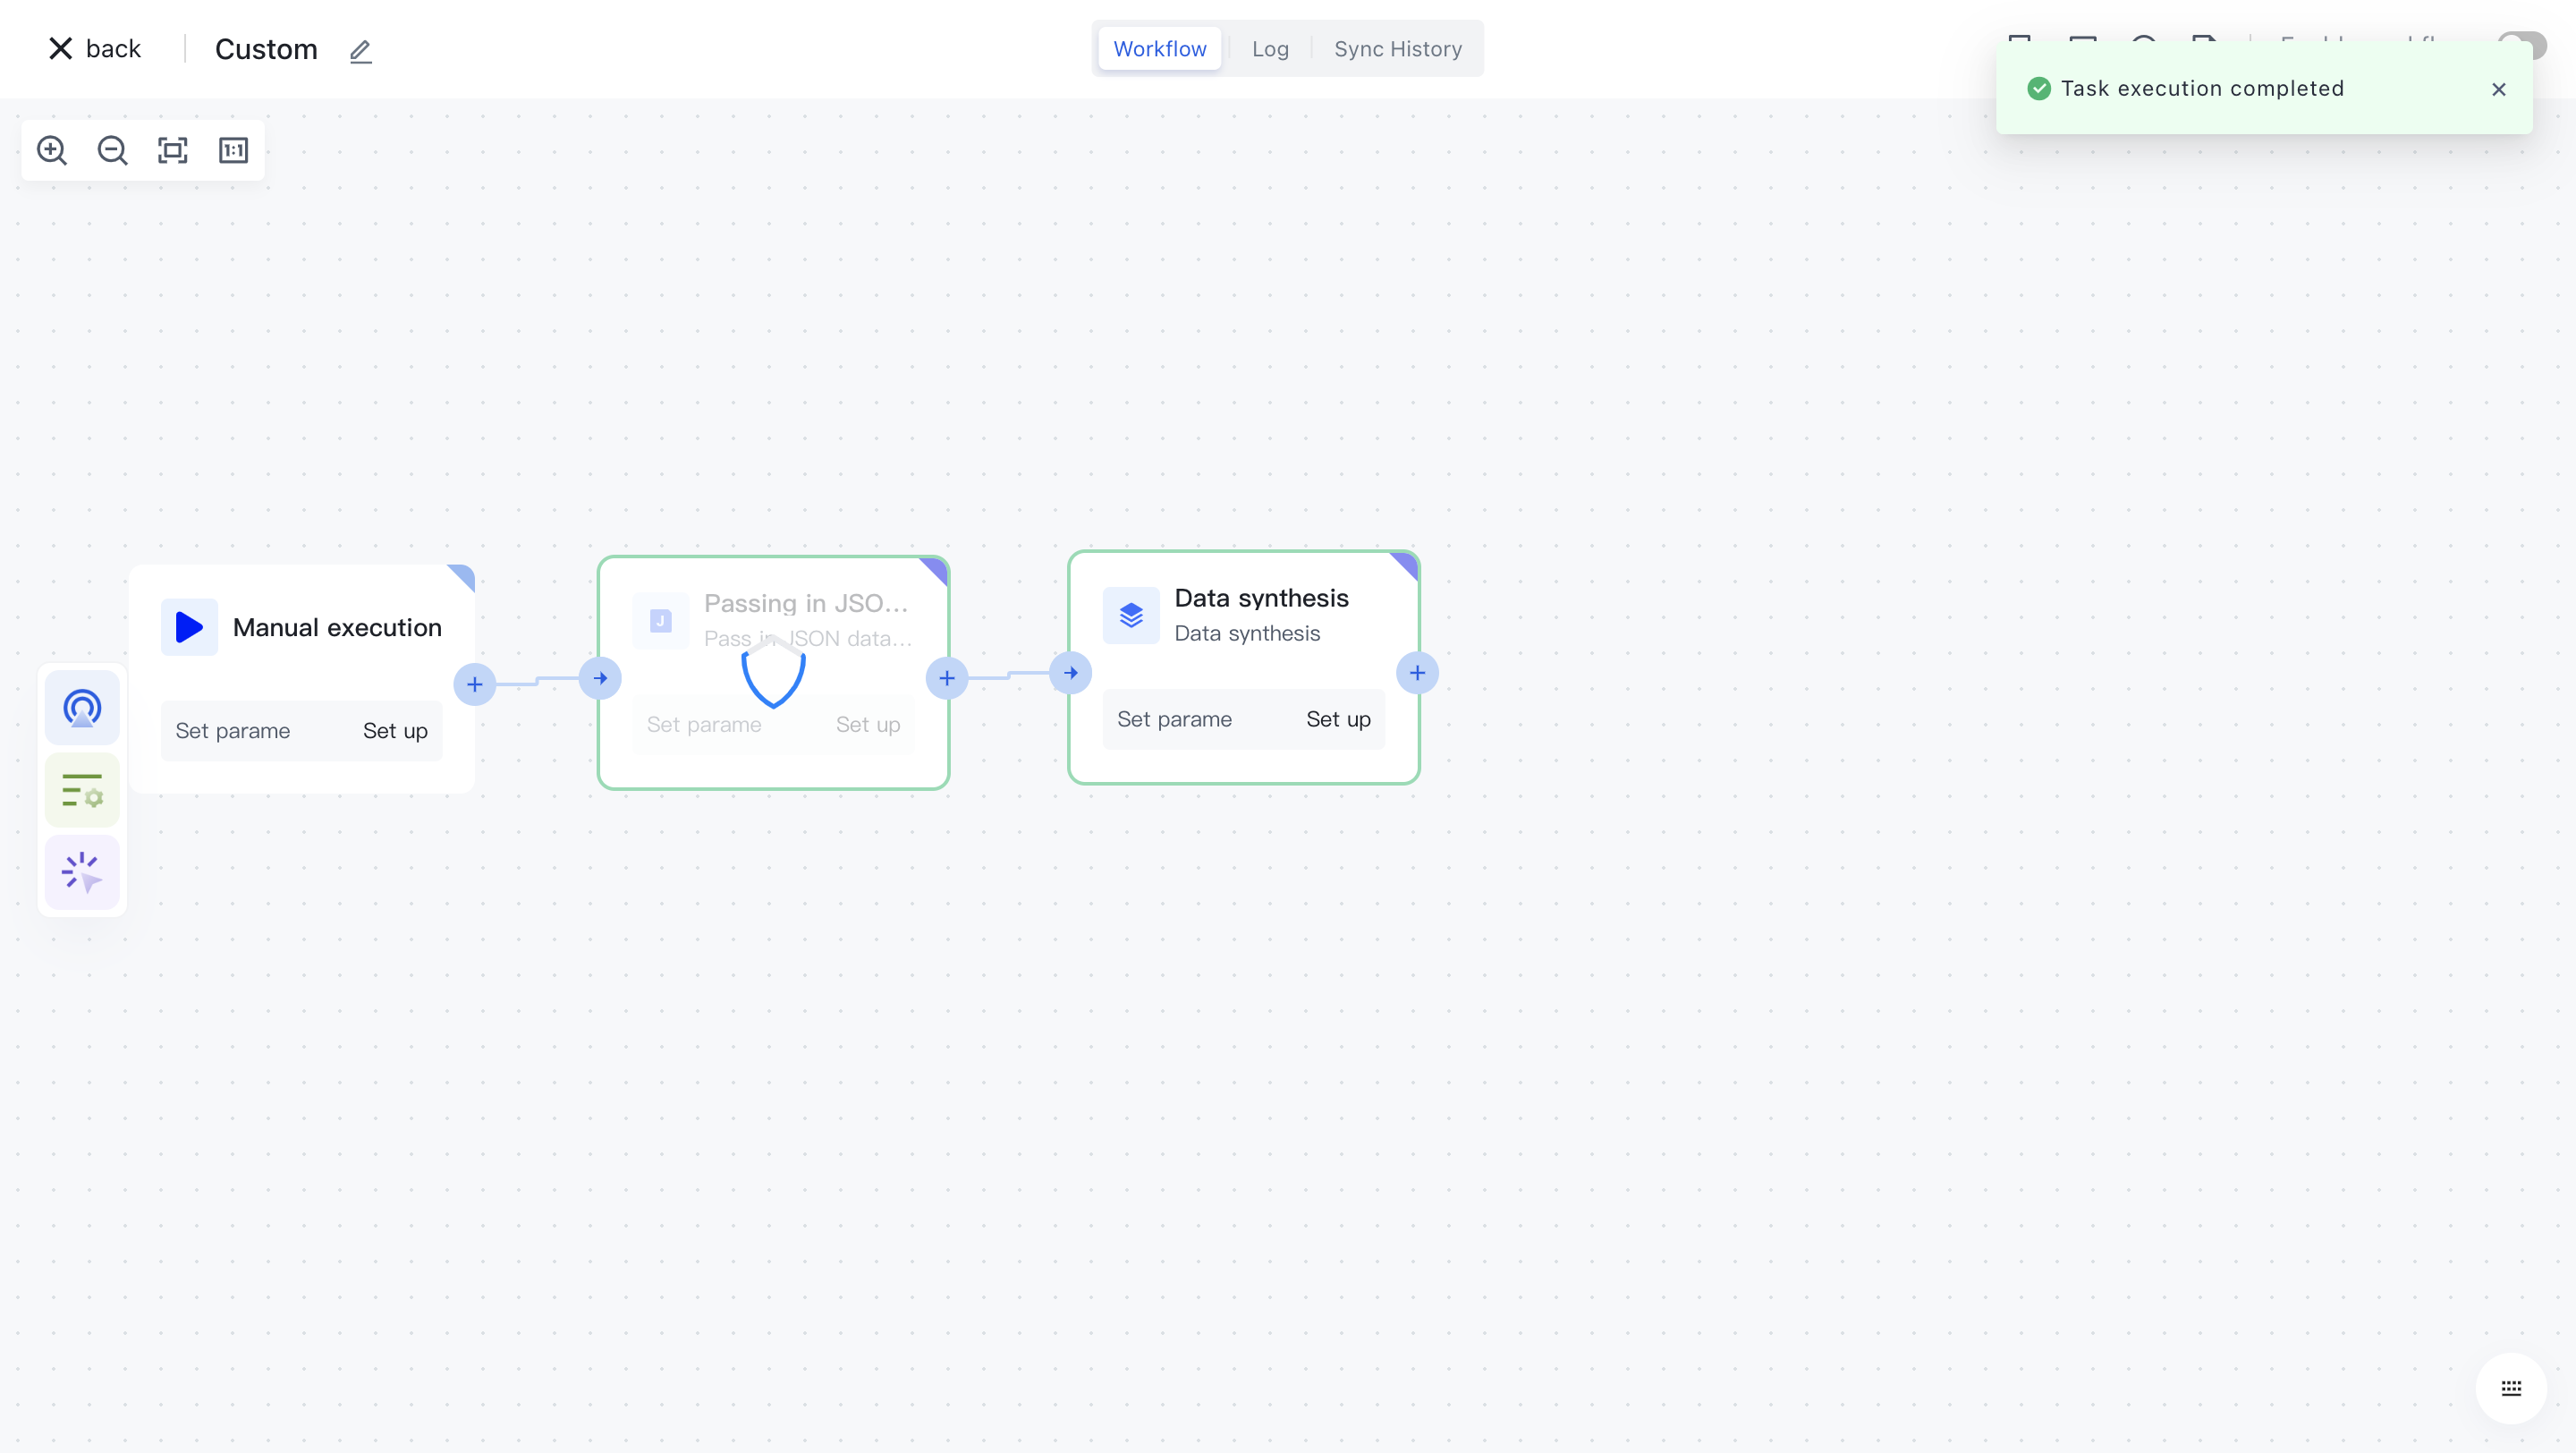
¶ Test Run

Click the "Execute the previous link of this node" button on the node to execute it.

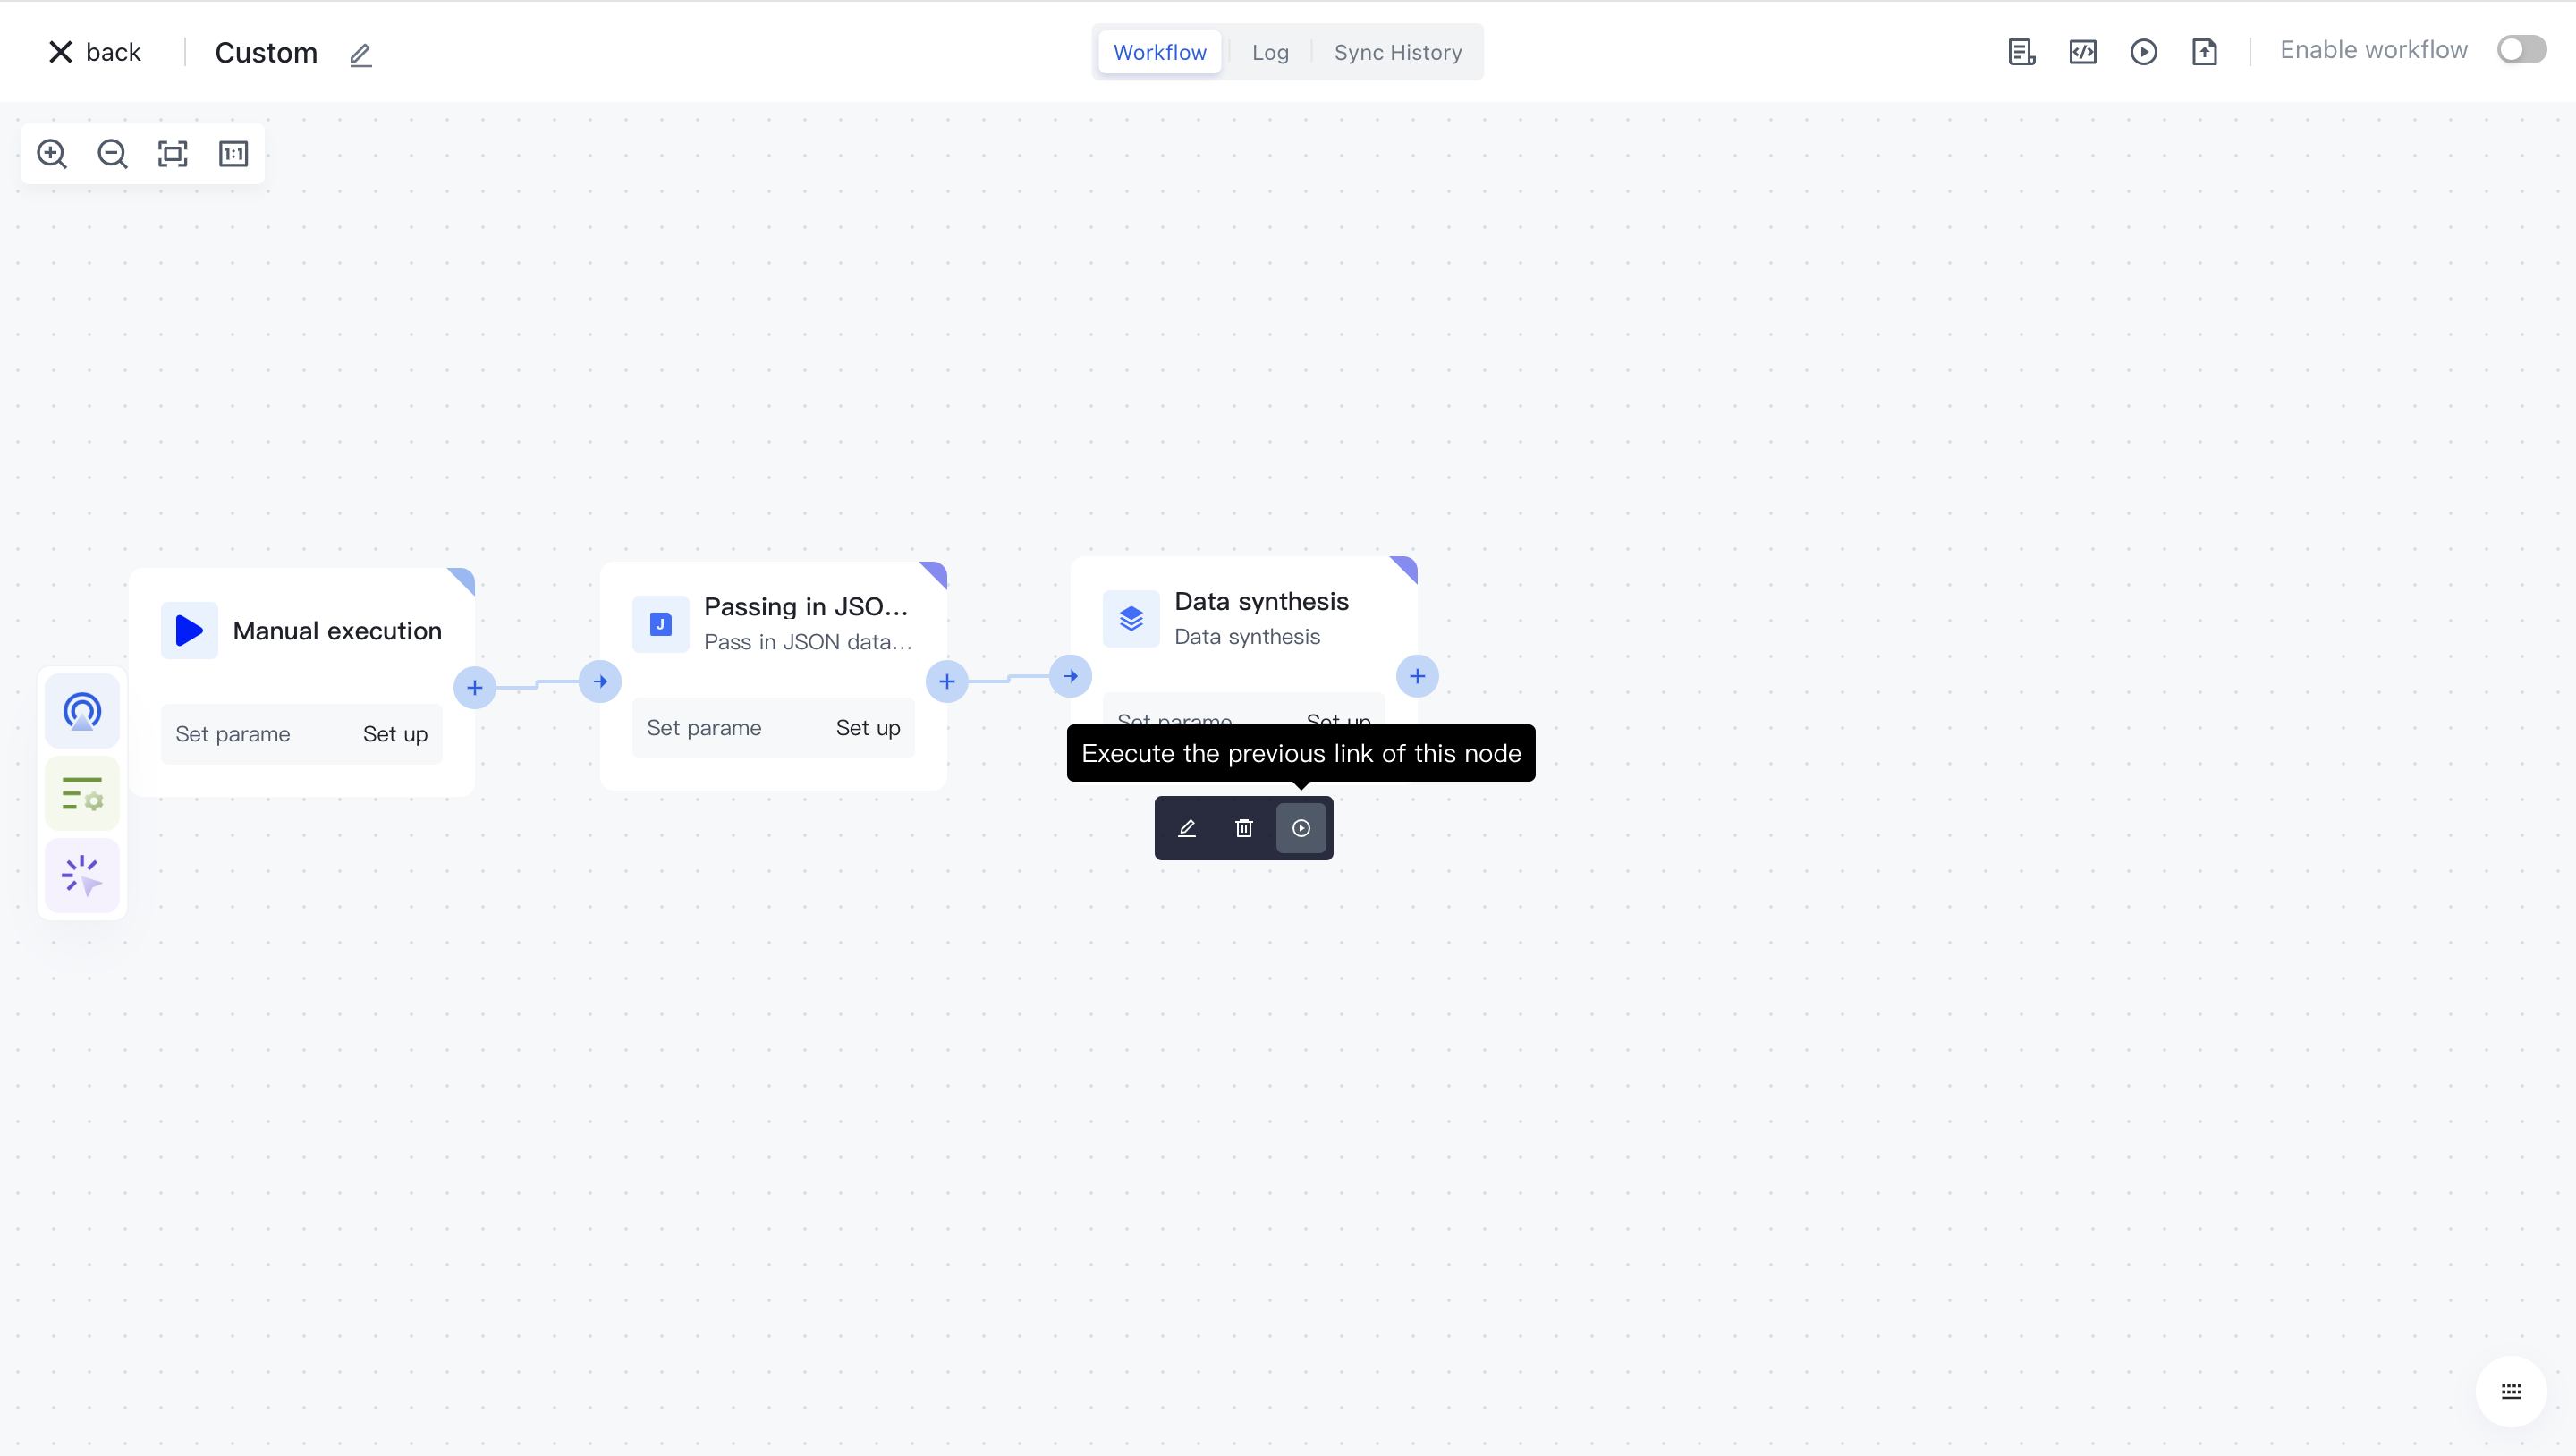
After reconfirmation, all previous processes of this node will be executed.

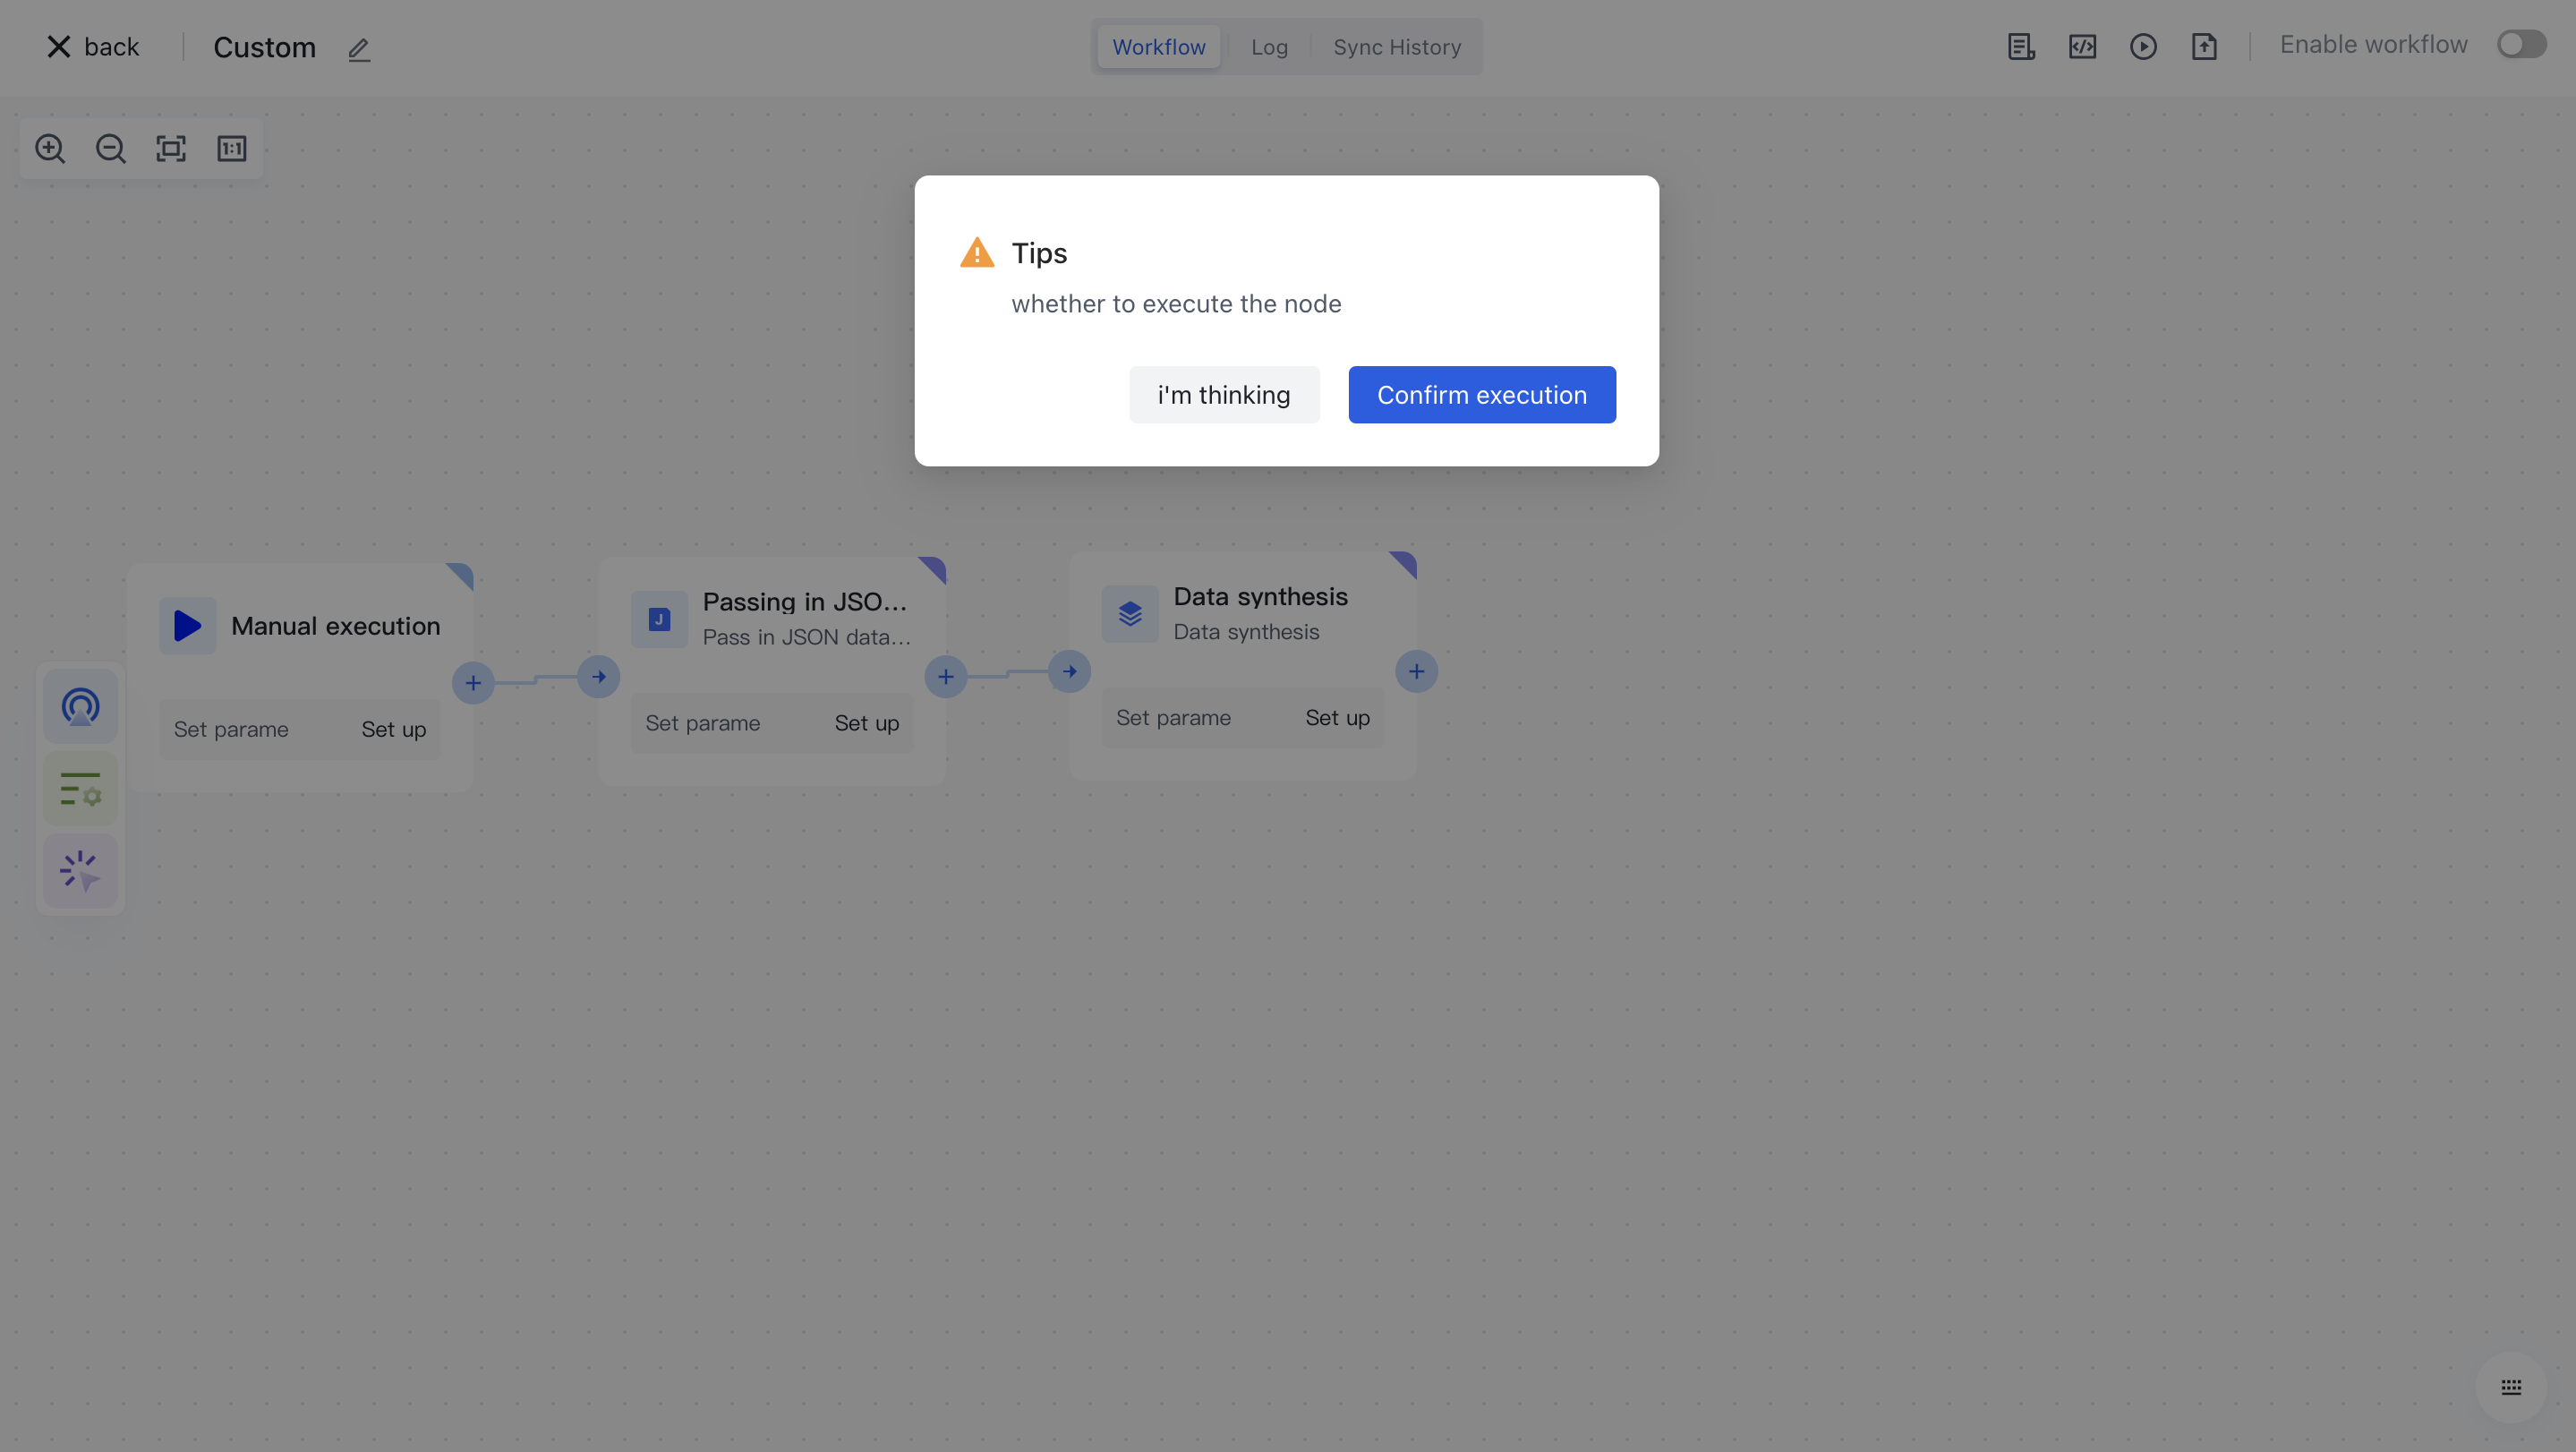
After clicking the "Confirm Execution" button, you will see the message prompt "Node in Progress".

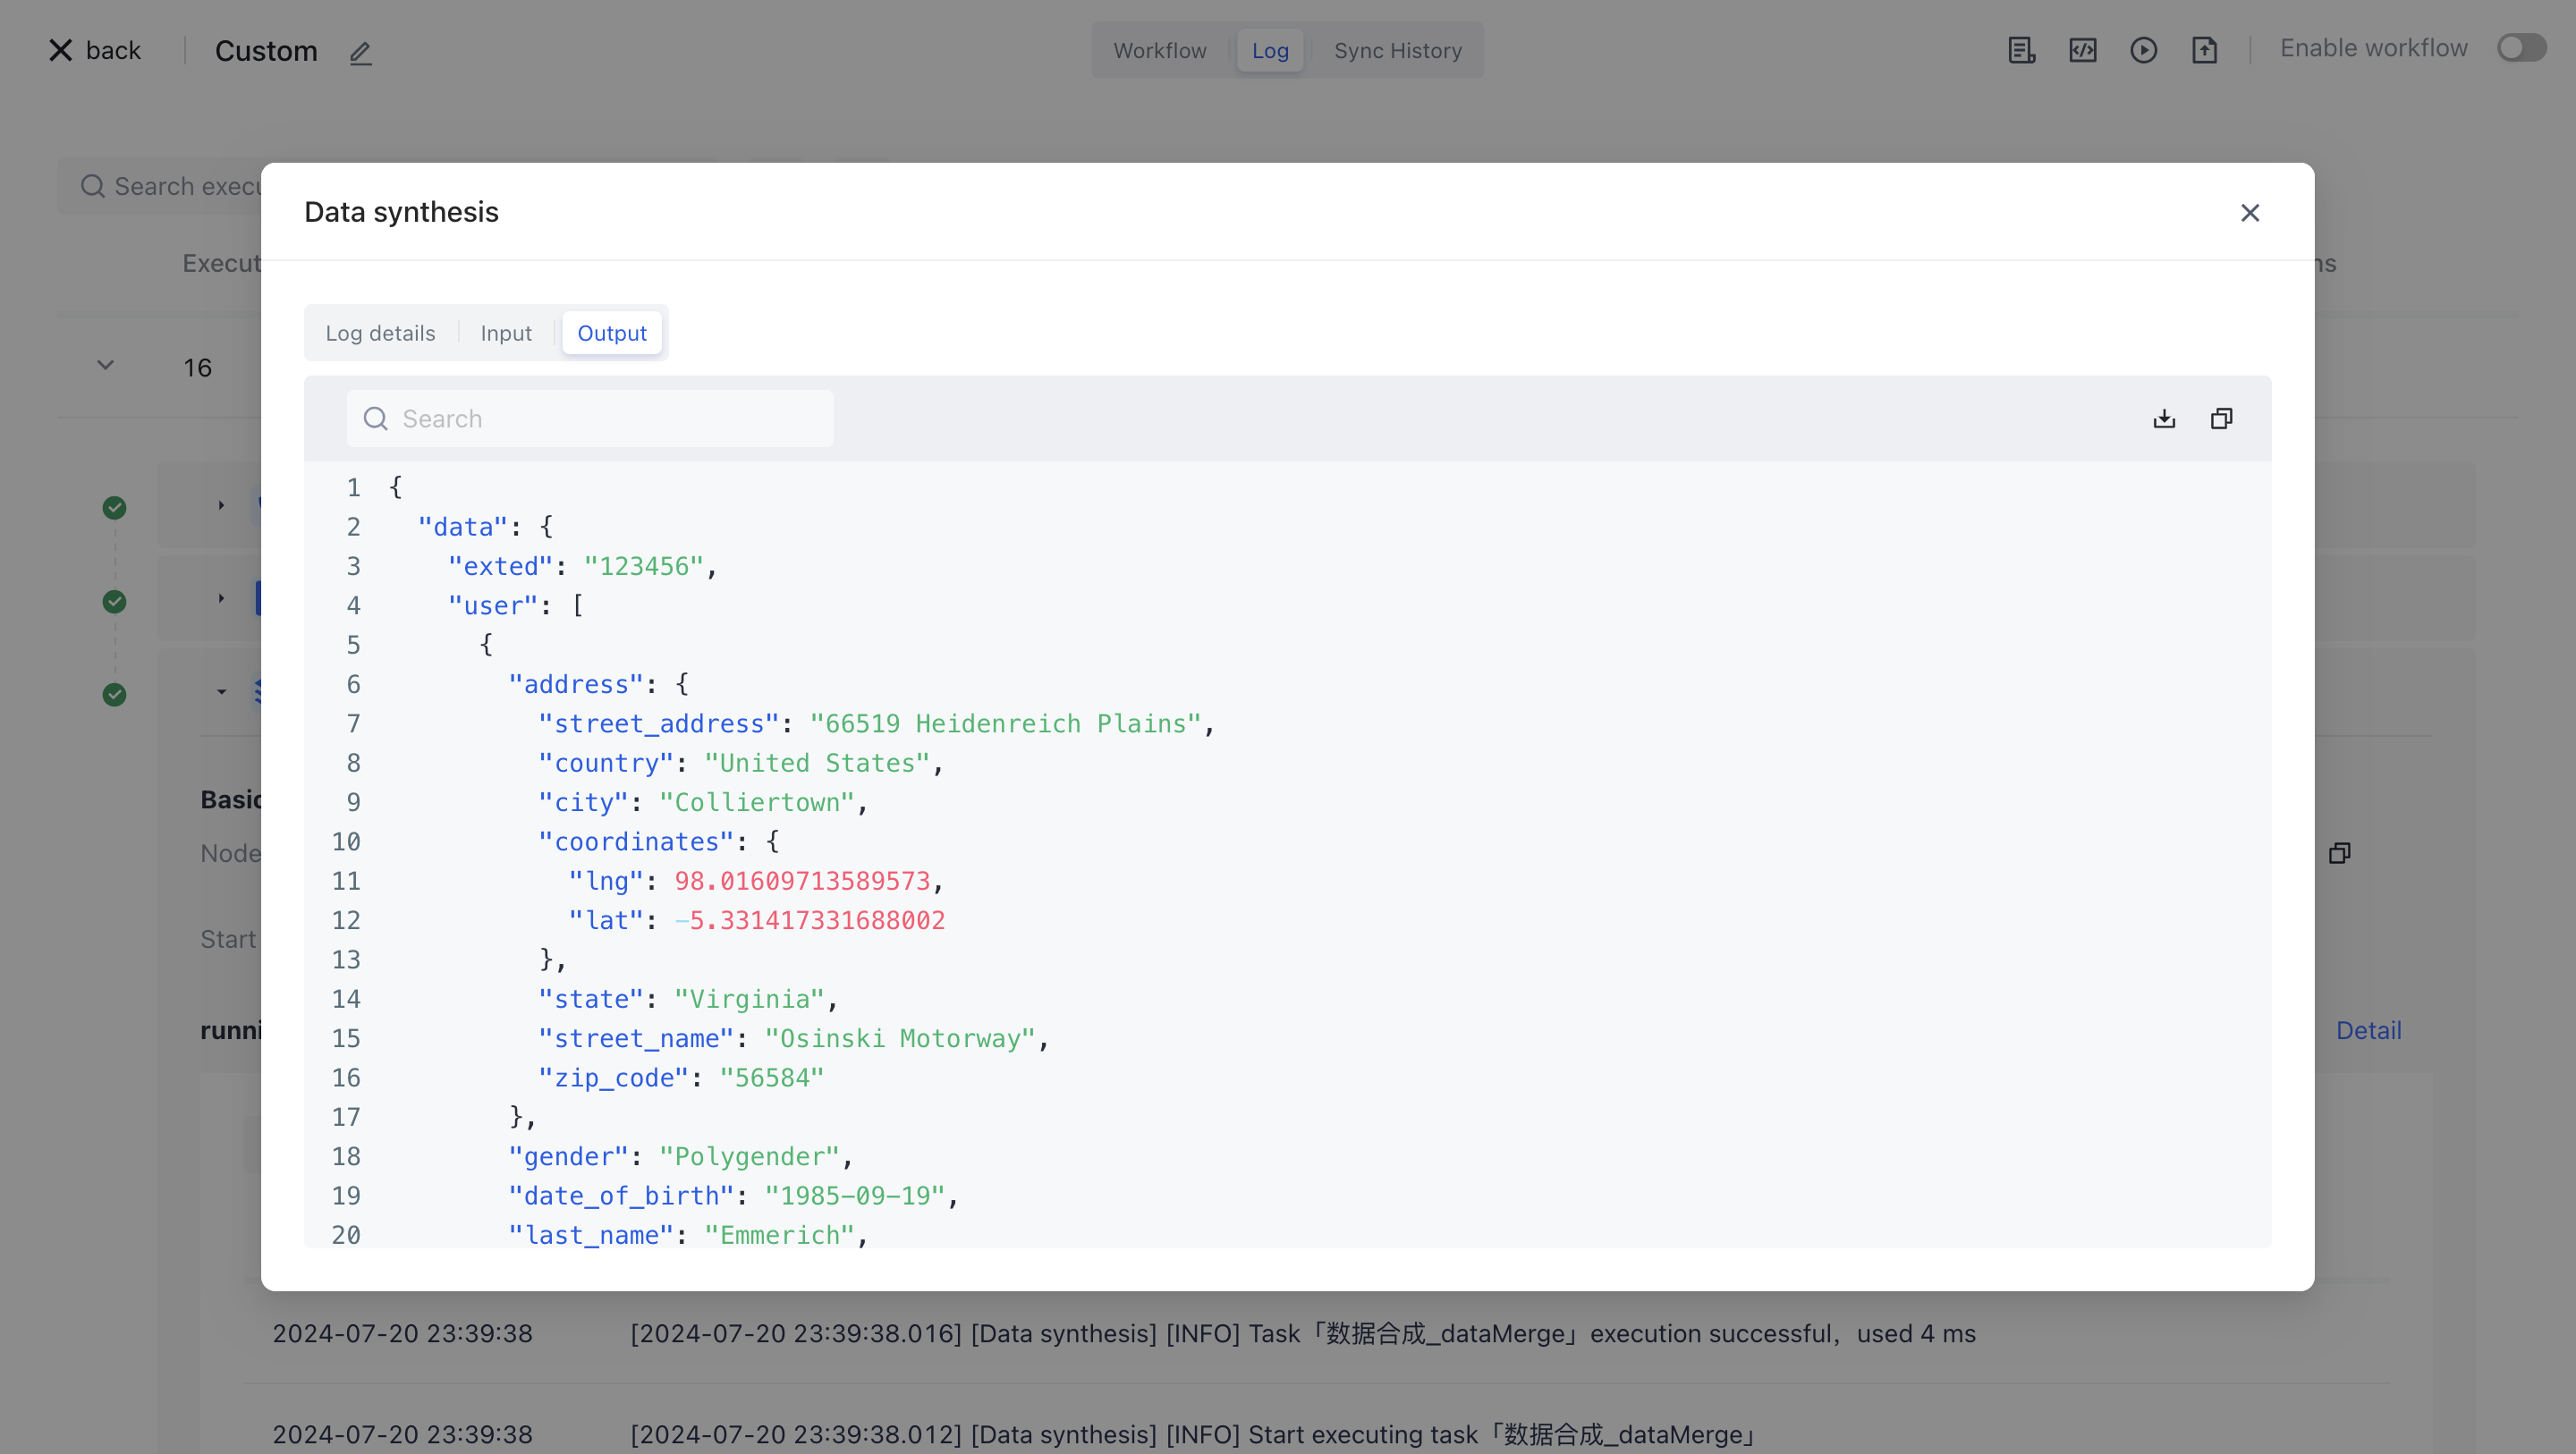
Click on the "Run Log" column, then click on the expand button on the left side of the latest "Execution Batch" and "Data Synthesis" nodes to view the node execution results.

Prev: Split array Next: Data reception
  • Add node
  • Node configuration
  • Test Run

User identity management

Integrated third-party login
Mobile phone number flash check (opens new window)
Universal login form component
Custom authentication process

Enterprise internal management

Single Sign On
Multi-factor Authentication
Authority Management

Developers

Development Document
Framework Integration
Blog (opens new window)
GitHub (opens new window)
Community User Center (opens new window)

Company

400 888 2106
sales@authing.cn
16 / F, Block B, NORTH STAR CENTURY CENTER, Beijing(Total)
room 406, 4th floor, zone B, building 1, No. 200, Tianfu Fifth Street, Chengdu(branch)

Beijing ICP No.19051205-1

© Beijing Steamory Technology Co.